

We tend to store tension in our shoulders. Here’s how to let it go.

(Photo: Courtesy of Kaitlyn Kelly)
Published on June 9, 2026 at 08:32 AM
In yoga, the hips are often talked about as a place where we store tension and difficult emotions. However, there is another area that is not talked about as much that also tends to take physical and emotional stress, and that is the shoulders. You may have noticed that spending long hours in front of a computer and staring at a screen, combined with periods of fatigue, causes your shoulders to creep toward your ears and you feel increasingly difficult to relax. Some people even experiment Tension headache as a result of.
This is where a short, slow yoga practice can make a big difference. This 15-minute yoga sequence for tight shoulders guides you to combine deep breaths with gentle movements so you can honor your body and whatever feelings arise. This practice is designed to help you release physical tension from your shoulders, neck, and upper back, as well as any remaining stress.
15-minute relaxation yoga for tight shoulders
You’re always welcome to take a break, adjust, or skip anything that doesn’t seem supportive to you.
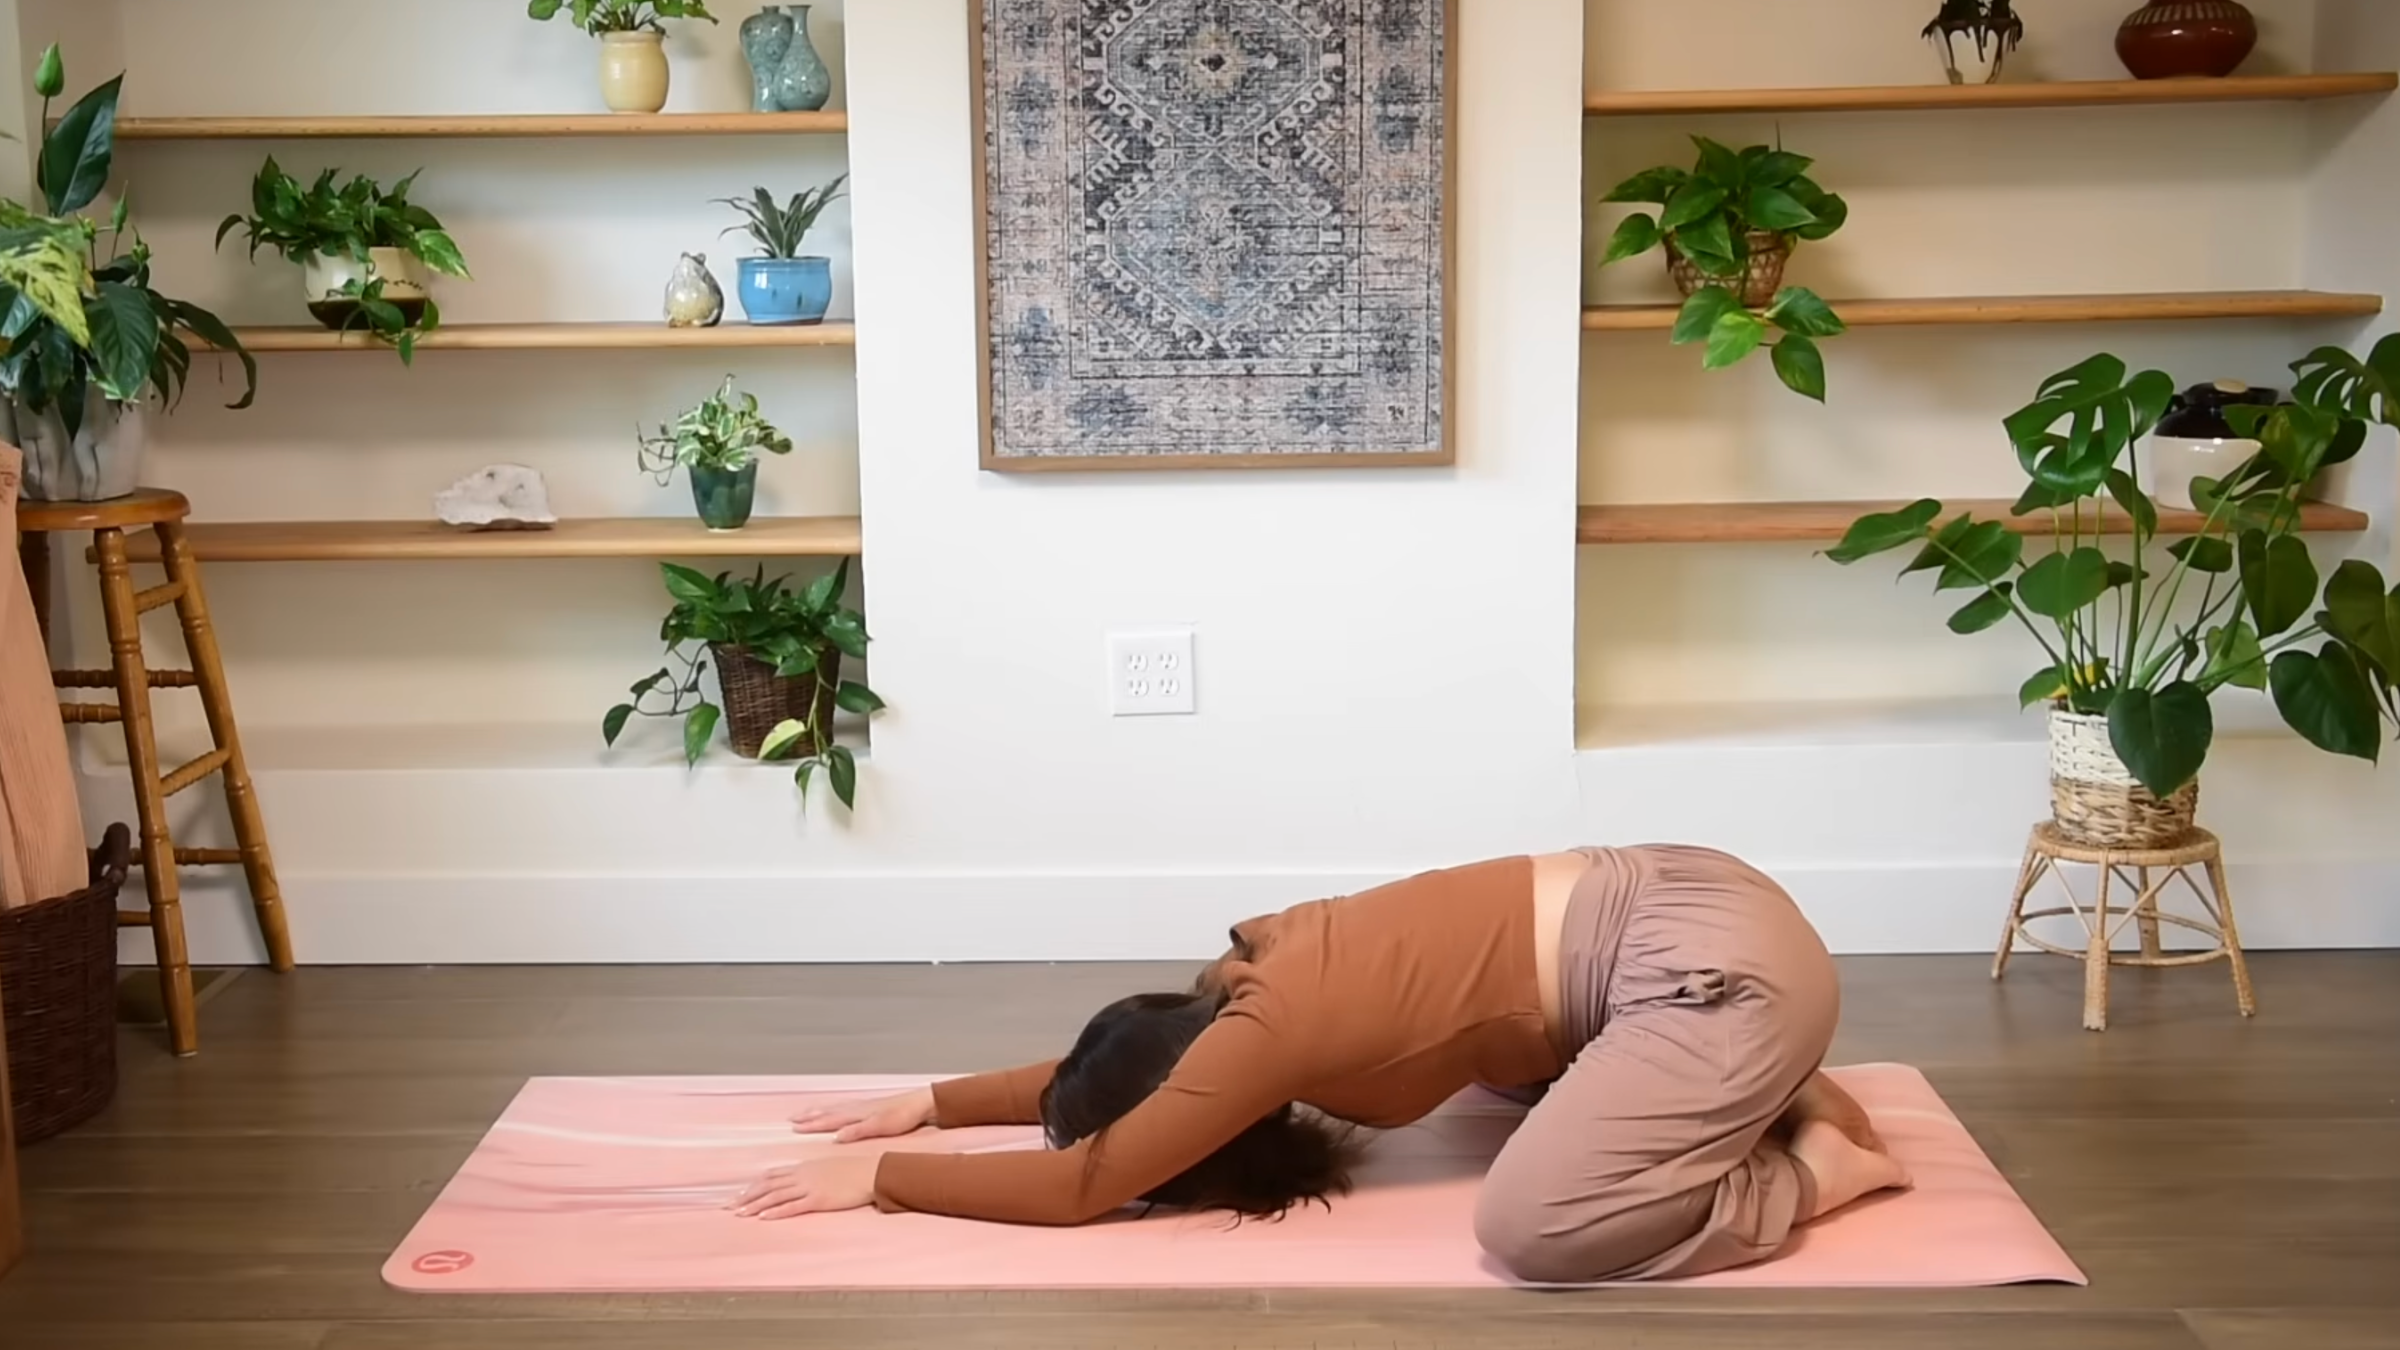
1. Child’s pose with side extension
Come to your hands and knees. Widen your knees and lower your hips toward your heels. Extend your arms in front of you while lowering your forehead toward the mat Child’s position. Take a few breaths here.
Slowly move your hands to the right until you feel a stretch on your left side. Breathe here. Bring your hands back to the center, then slowly toward the left until you feel a stretch along your right side. Breathe here. Walk your hands back to center.

2. Child’s position for threading a needle
From Child’s Pose, bend your right arm and gently press the back of your hand onto your lower back. Take some breaths here.
Extend your right hand toward the ceiling, then reach below your chest in a variation of the needle thread. Take some breaths here. Extend your right hand toward the ceiling and return to child’s pose.
Repeat threading with the needle different on the left side. Finish by extending your arms forward in child’s pose.
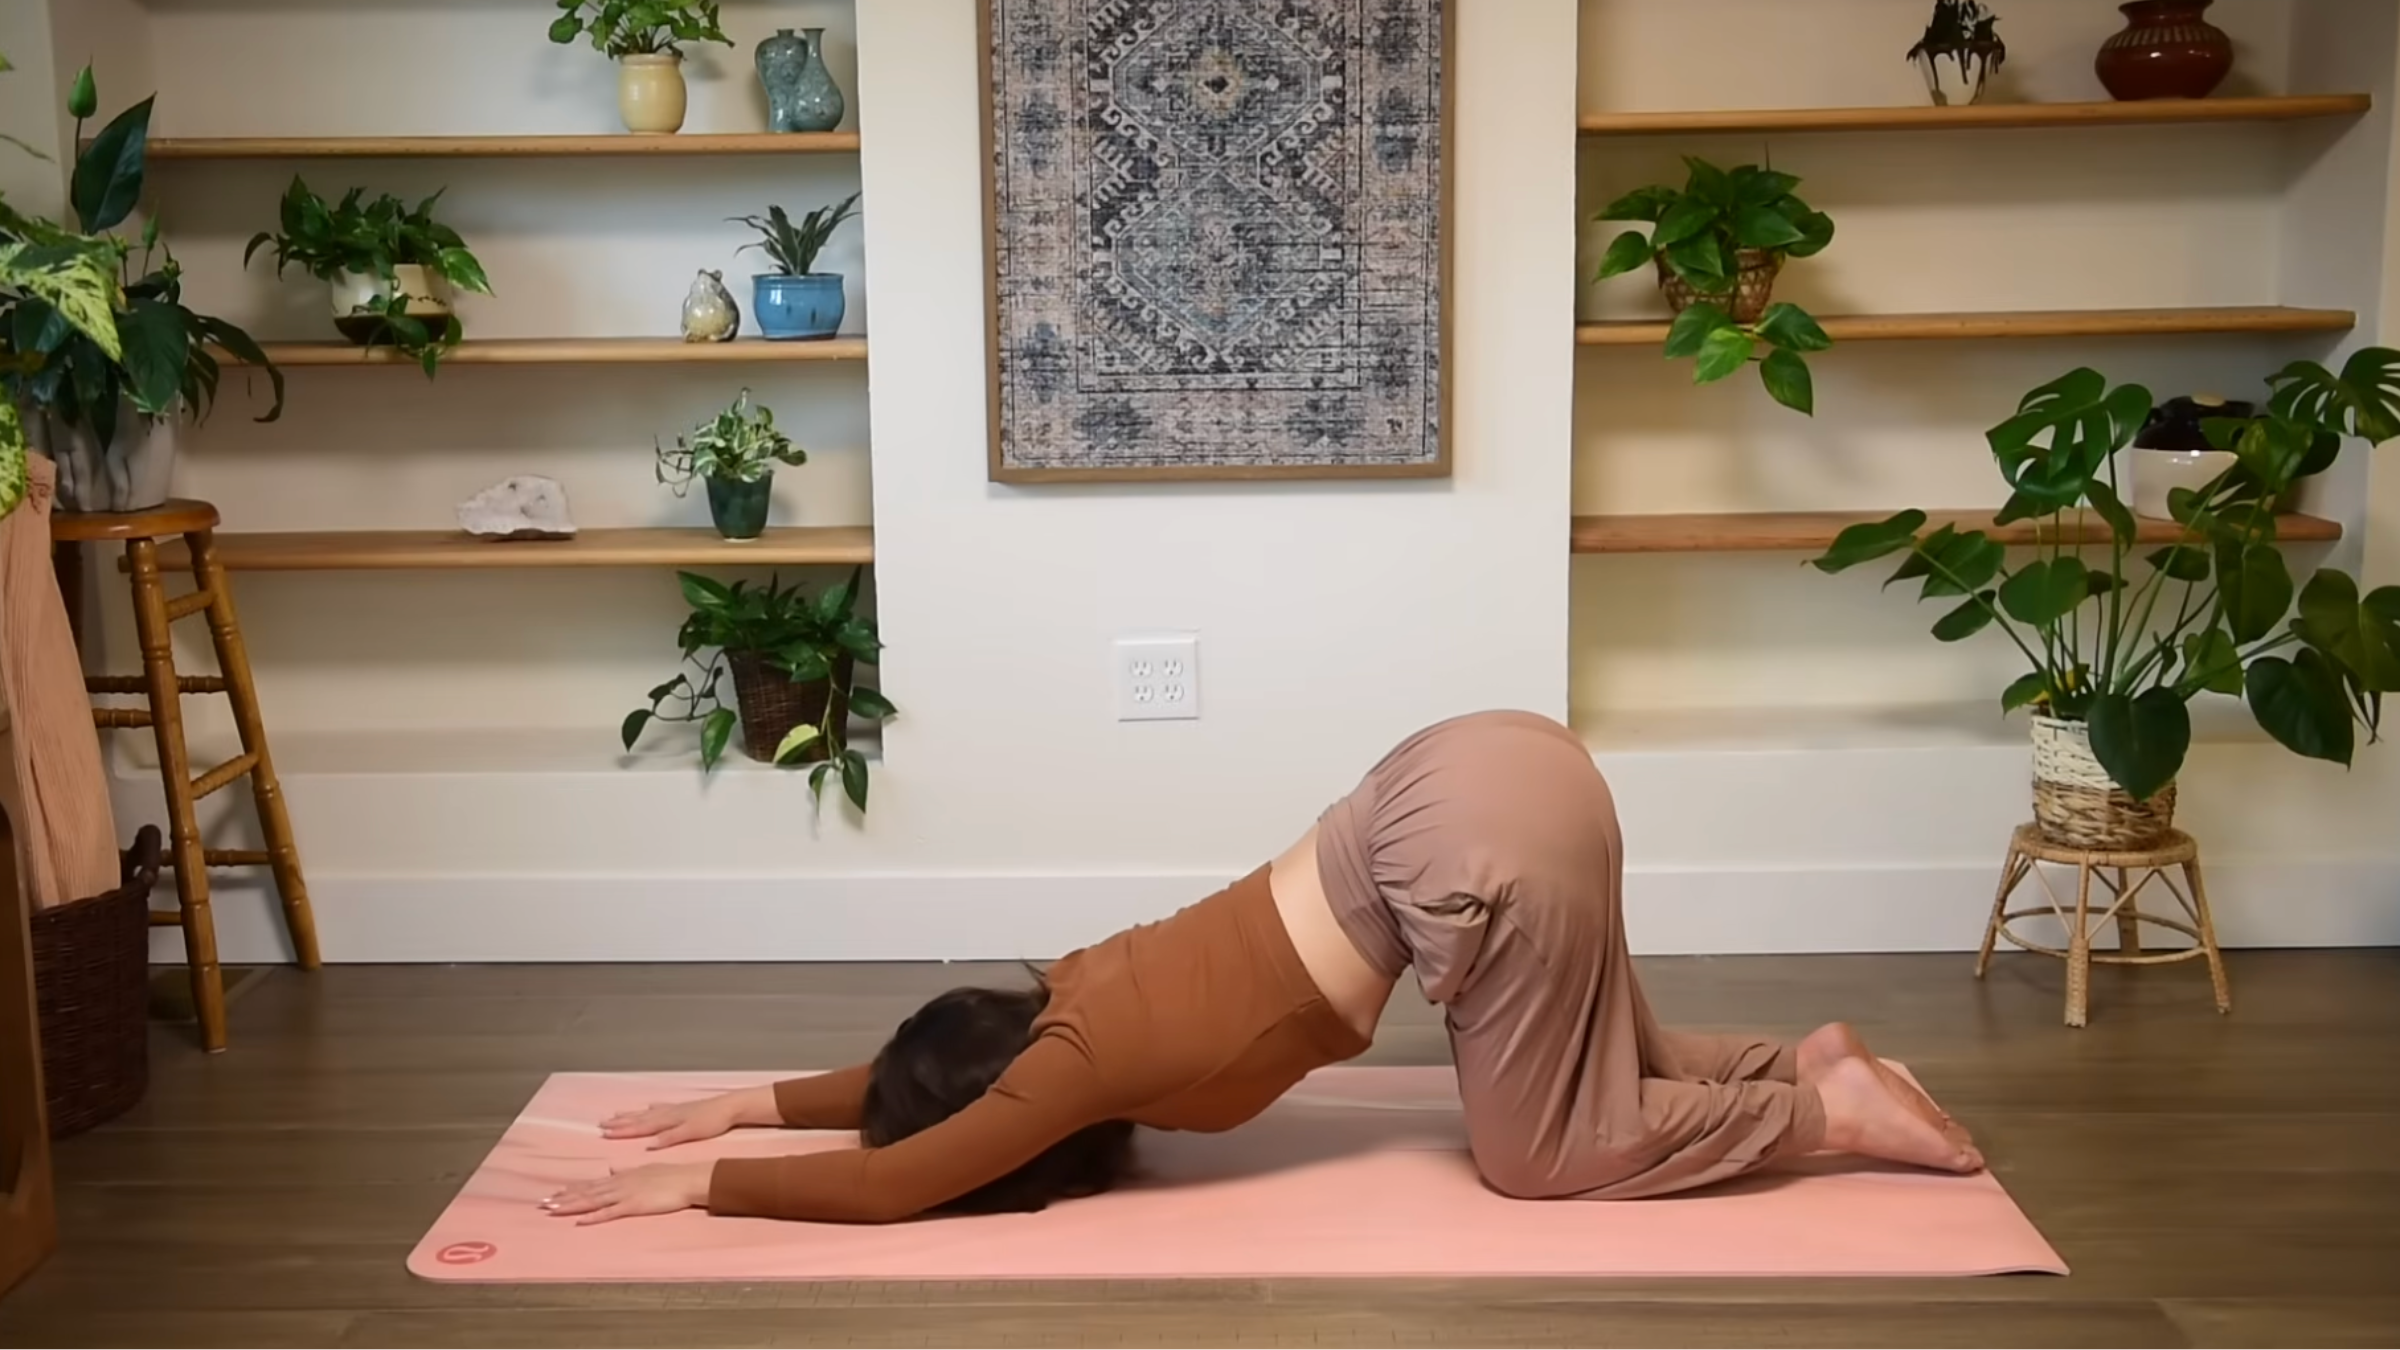
3. Puppy pose
Come to your hands and knees with your shoulders stacked over your wrists and your hips stacked over your knees. Walk your hands forward, letting your chest melt toward the floor Puppy pose. Take a few breaths here, then slowly come back to lie on your stomach.
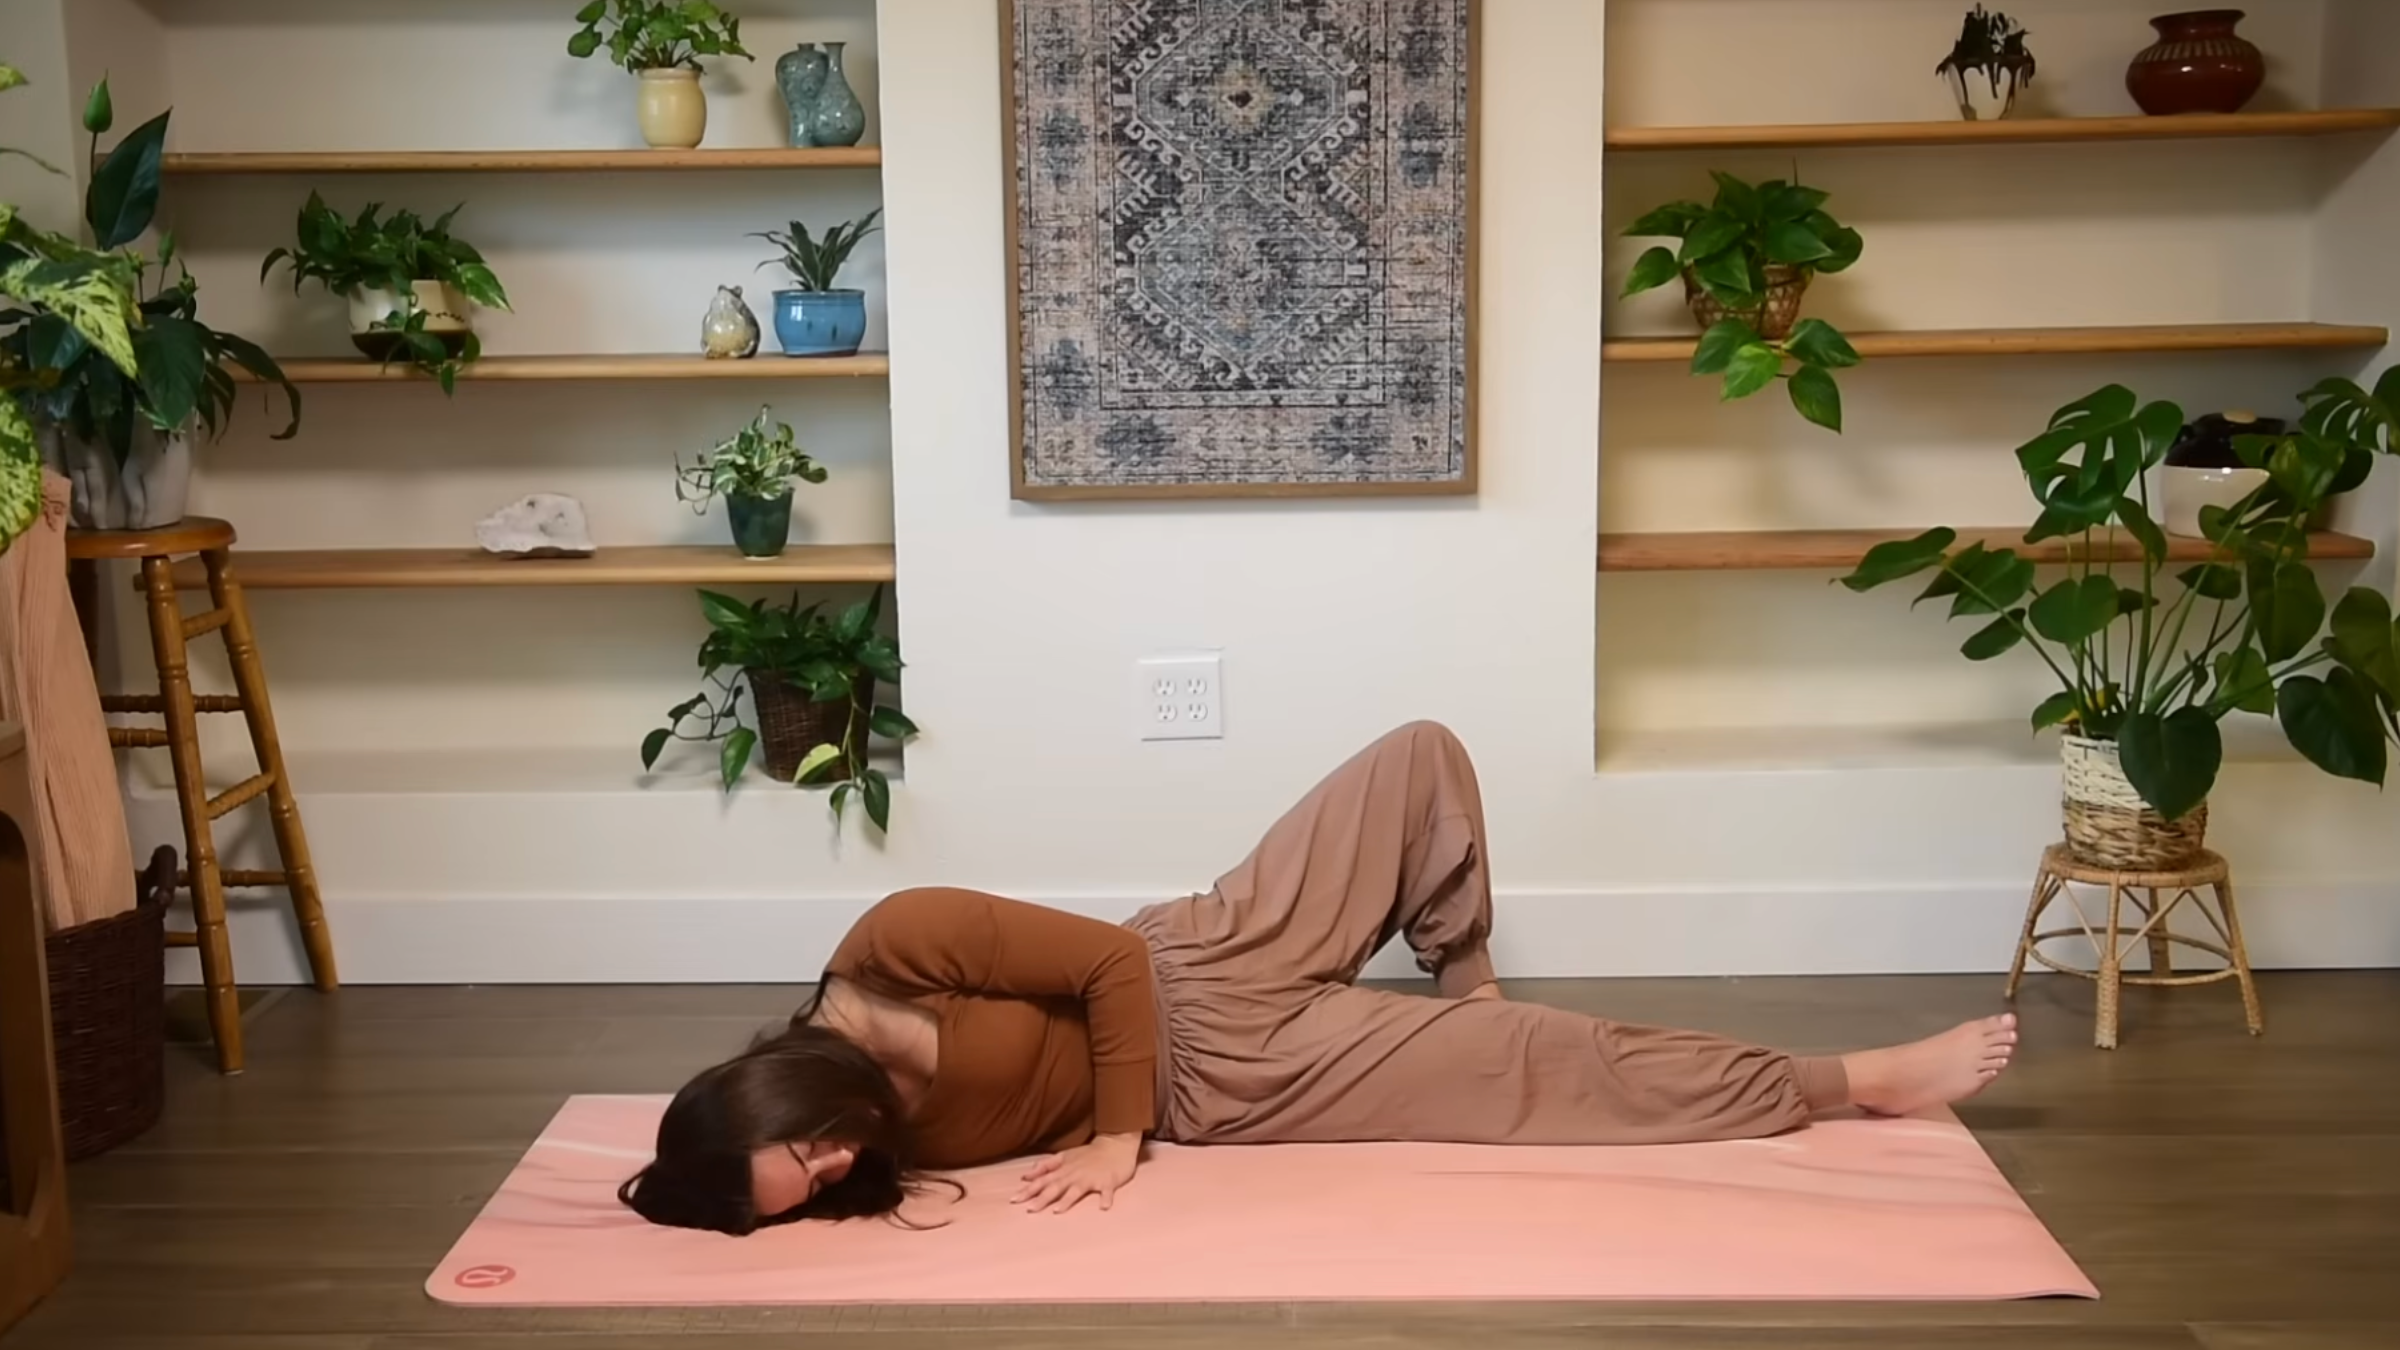
4. Broken wing
From lying on your stomach with your legs extended, extend your right arm straight out to the side, in line with your shoulder, with your palm facing down. Bend your left elbow and place your left hand on the mat below your shoulder. Press into the palm of your left hand, then slowly roll onto your right hip, continuing as long as you feel comfortable. Bend your left knee and place your left foot on the mat behind your right knee in Broken Wing. Take some breaths here. Slowly return to your stomach.
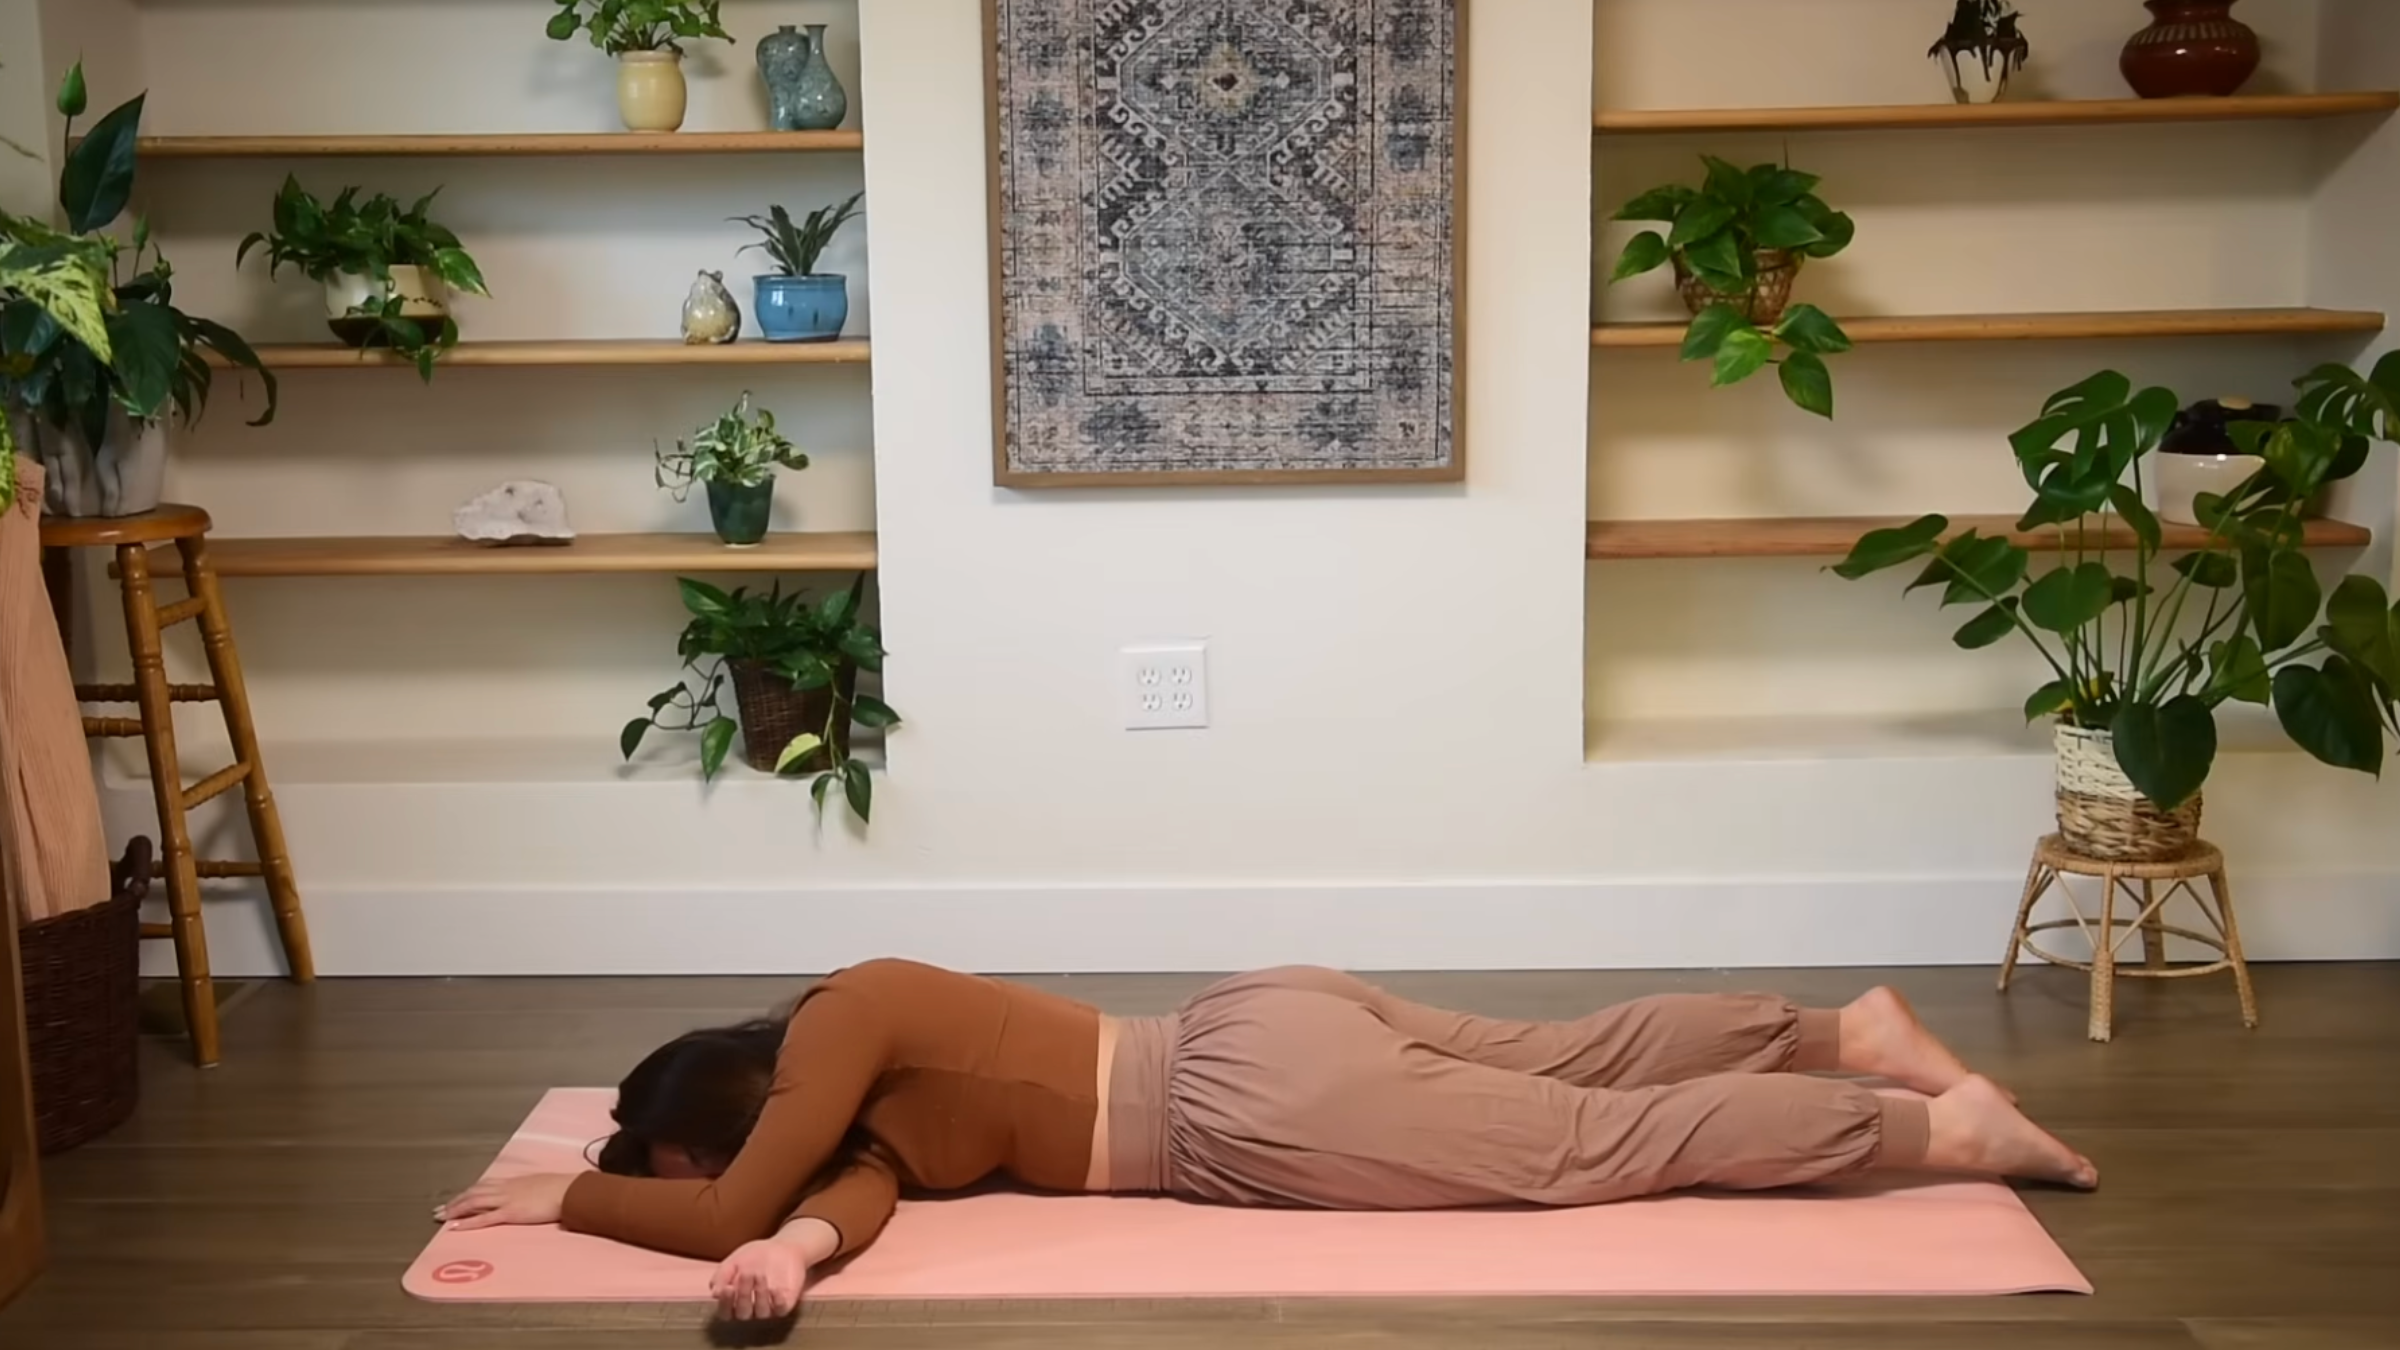
5. Thread the needle flat
Place your left hand on the mat a few inches in front of your chest. Press your left hand when you reach your right arm below your chest and place the right side of your head on the mat in Prone Thread the Needle position. Take some breaths here.
Repeat the broken and weak wing on the needle on the other side.
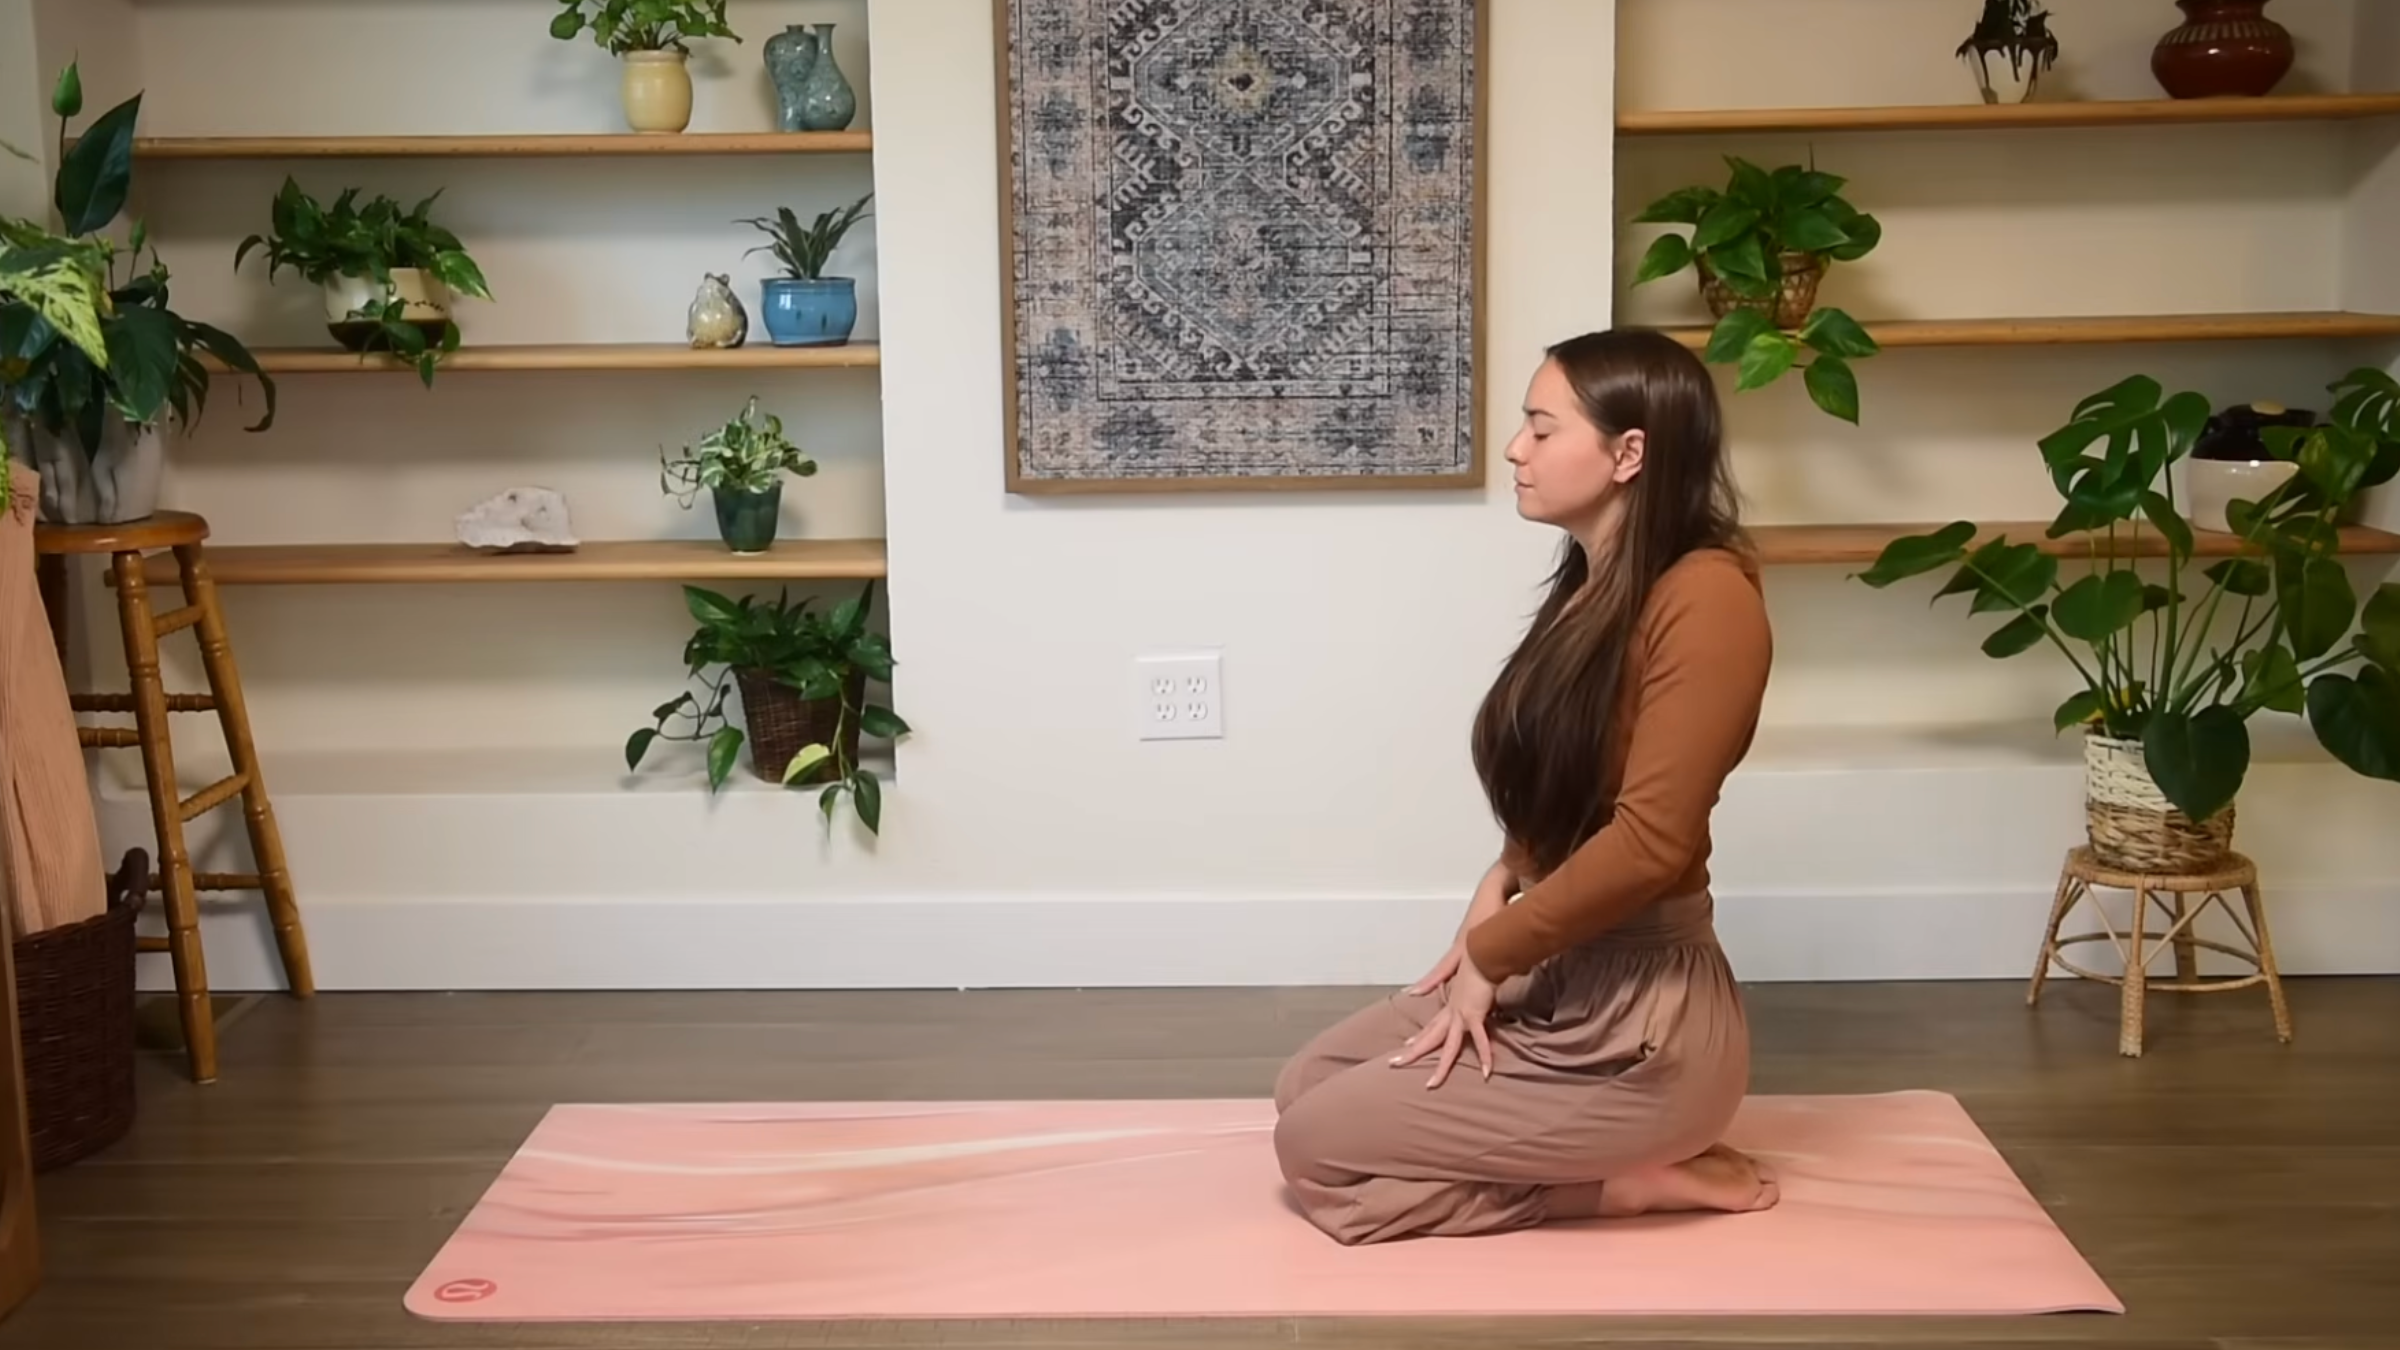
6. Shoulder circles
Come to a comfortable seat on the rug. Slowly move your shoulders forward in a circular motion. Repeat several times, then switch directions. When you are ready, return to the neutral position.
Take a final breath in and out and see if you feel a slight relaxing sensation in your shoulder muscles.