Setting up an outdoor gym is a great way to stay fit while enjoying the fresh air. However, choosing the right flooring is critical to safety, durability and performance. Unlike indoor gyms, outdoor flooring must withstand weather, heavy equipment, and constant use.
This guide will walk you through the best options, installation tips, and maintenance steps Outdoor gym flooring.
The main advantage of outdoor gym flooring
Gym floor
Outdoor gym flooring protects users from injury by providing a stable, slip-resistant surface. It also absorbs shock, reducing joint stress during high-impact workouts. Since outdoor flooring faces rain, sun, and temperature changes, it must be weather-resistant. Proper flooring also prevents equipment damage and reduces noise, making it ideal Home and commercial gyms.
Step 1: Choose the appropriate material
The flooring material sets the tone for the entire gym space. Each material offers distinct features that meet different goals, climates and weight capacities.
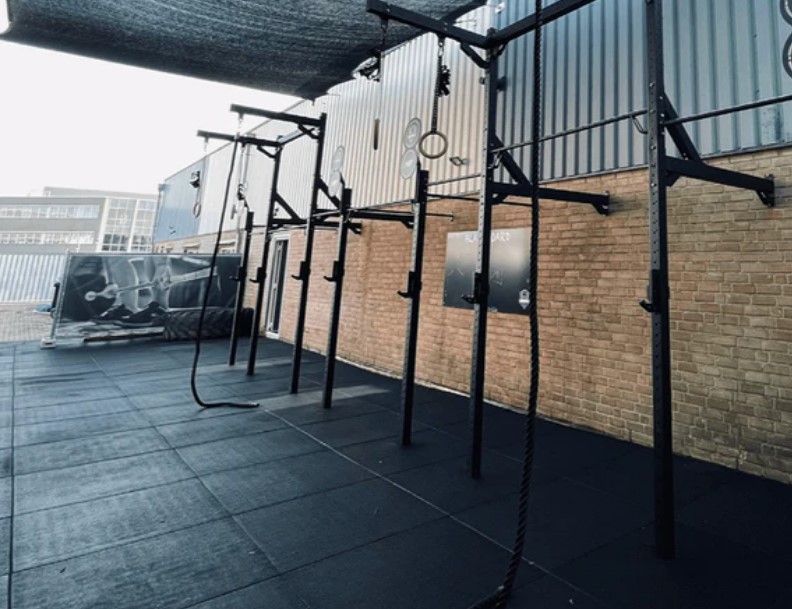
Rubber tiles
Main features
Excellent shock absorption for high impact activities
Non-slip surface is ideal for all weather conditions
Interlocking design ensures quick and stable installation
Considerations
Must include UV protection for longevity under sun exposure
Choose a commercial thickness for your weightlifting areas
Avoid smooth mixtures for areas with constant foot traffic
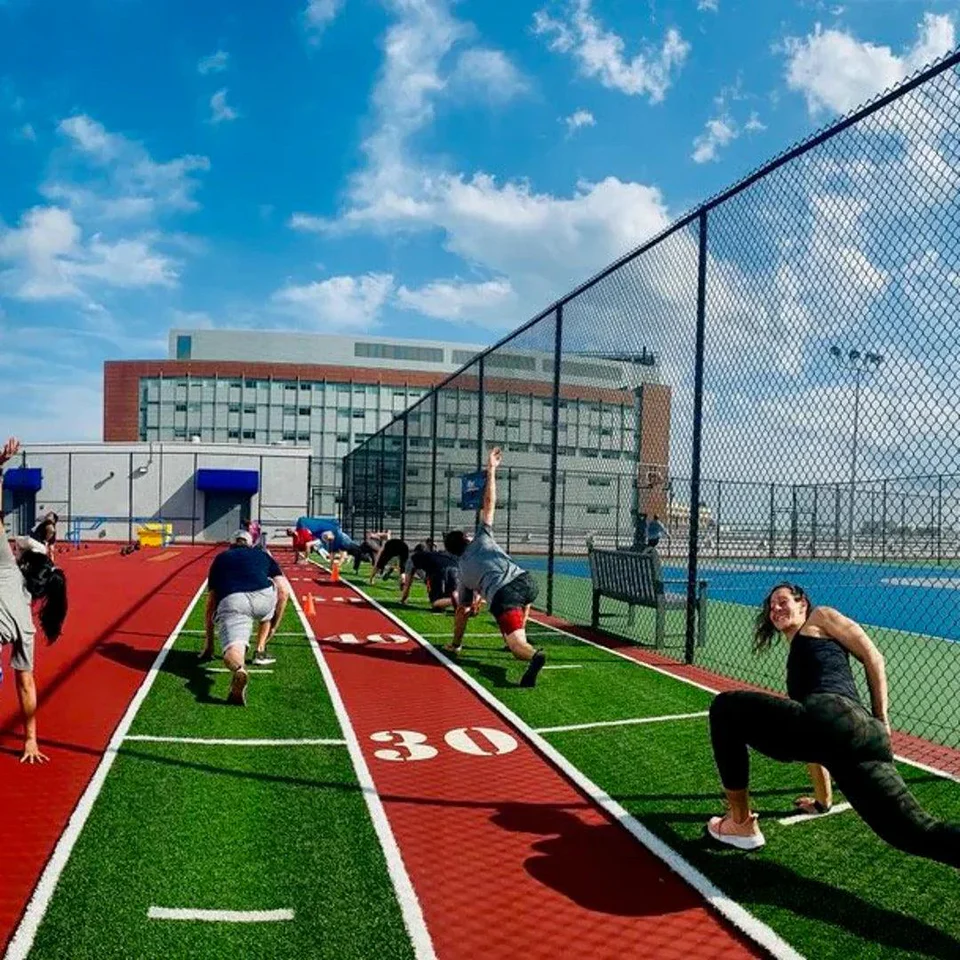
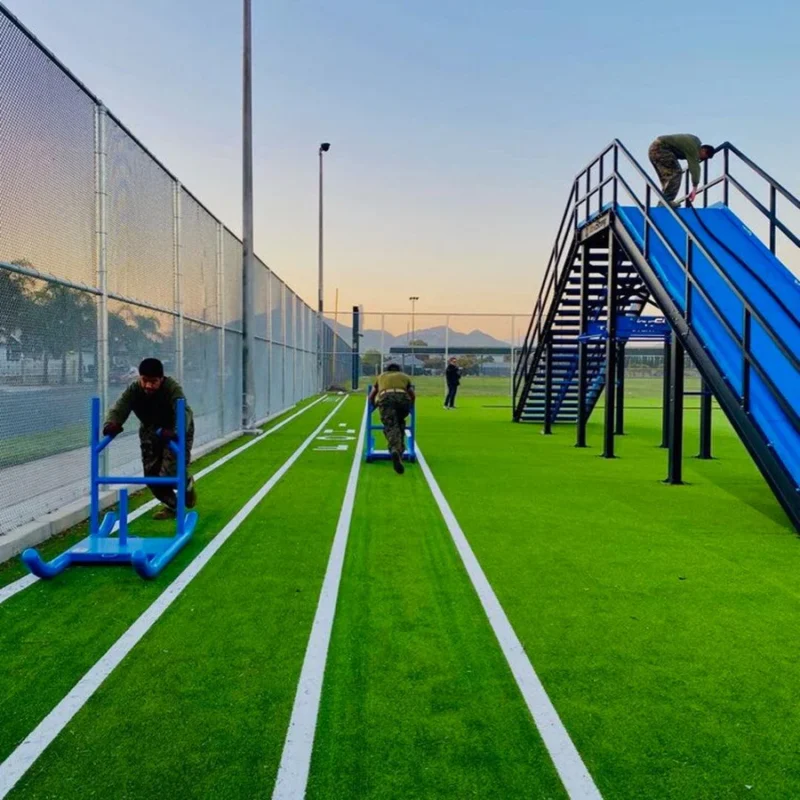
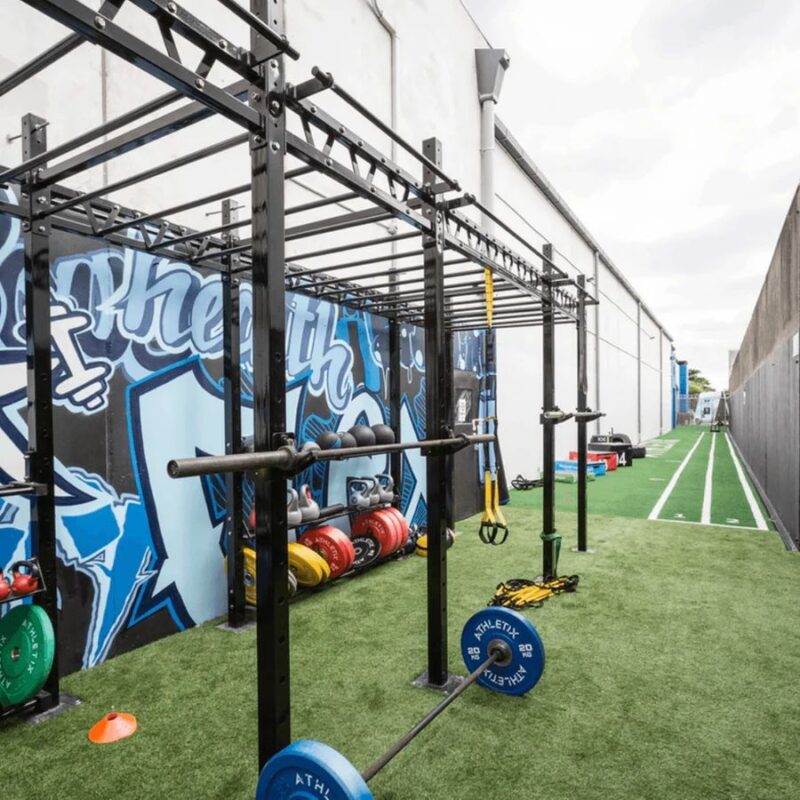
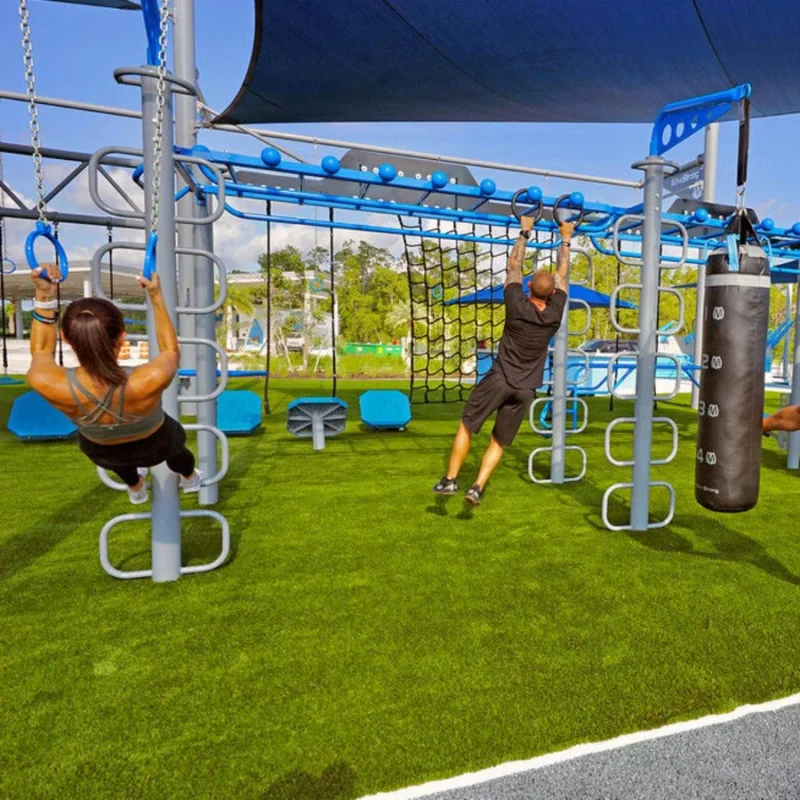
Artificial grass
Main features
Provides a grass-like aesthetic without the maintenance
Efficient drainage system reduces water retention
Perfect for sled pushes, agility ladders and mobility drills
Considerations
It needs a suitable foundation to absorb shocks
It can heat up under direct sunlight
Edges must be securely fastened to avoid curling
Interlocking mats
Main features
Lightweight and portable for seasonal or temporary settings
Made of dense foam or recycled rubber
It is easy to move and adjust without tools
Considerations
Less durable under heavy machinery
Requires flat surfaces for secure connection
They should be stored away during severe weather for protection
Pouring rubber or rubber-coated concrete
Main features
A durable, seamless flooring solution for professional settings
Resistant to weather, UV rays and water
Supports heavy machinery without moving or cracking
Considerations
Requires professional tools and processing process
High initial cost but minimal maintenance afterwards
Limited flexibility after installation
Step 2: Prepare the ground
Laying strong floors depends on the condition of the base. No surface should be left untreated before installation. Start with the foundation.
Remove debris and level the surface
Remove all rocks, roots and uneven sections
Use a compactor to press the soft soil into a firm base
Avoid installing directly on soft or uneven ground
Add a base layer
Place crushed stone or compacted gravel to improve drainage
Create a slight slope away from the gym area for water to run off
Ensure thickness between 2 to 4 inches for stability
Check for proper drainage
Water buildup leads to rot, deformation, and reduced integrity
Create drainage channels if water tends to pool
Add a layer of landscape fabric to prevent weed growth and retain moisture
Step 3: Install the flooring properly
Flooring type
The installation method depends on the type of flooring. Each one requires a different setup, connection techniques, and finishing.
Rubber tiles and interlocking mats
Installation method
Lay the tiles on level ground one section at a time
Align tightly with interlocking edges
For permanent setups, use an adhesive rated for exterior use or edge nails
Additional tips
Allow 24 hours for tiles to set before setting up equipment
Leave expansion gaps near the walls to adapt to temperature changes
Test each section by jumping lightly to check the movement
Artificial grass
Installation method
Roll the grass across the prepared base and cut it to fit the design
Secure the edges with galvanized nails, staples, or heavy glue
Add a rubber underlay underneath for extra cushioning
Additional tips
Use fillers such as silica sand to increase weight and stability
Comb the fibers with a vacuum cleaner to create a uniform surface
Rinse after installation to remove loose debris
Pouring rubber or rubber-coated concrete
Installation method
Hire a flooring professional with outdoor experience
Make sure the substrate is level and completely dry
Mix and pour the rubber compound evenly into the sections
Additional tips
Carefully follow the processing time, which can vary from 24 to 72 hours
Avoid traffic until completely hardened
Apply a sealant to protect against UV rays and weather
Step 4: Maintain your outdoor gym flooring
Maintain your outdoor gym floors
Long-lasting flooring depends on regular maintenance and seasonal care. A well-maintained surface enhances performance Avoids the risk of injury.
Routine cleaning
Weekly tasks
Sweep up leaves, sand, and small rocks
Wash it with water to remove surface dust
Use a neutral pH cleaner on rubber or grass to remove sweat residue
Monthly tasks
Deep clean using a soft brush or mop
Check seams and adhesive points
Check drain areas and clogs are clear
Damage inspection and quick repairs
Check for cracks, raised tiles, or holes
Replace broken parts immediately
Keep extra tiles or patches of grass on site for quick repairs
Weather protection
Install a shade canopy or tarp for areas with heavy UV rays
Store foam mats indoors during heavy snow or extreme temperatures
Use corner edges to reduce water leakage under floors
Key factors to consider before choosing outdoor gym flooring
Planning the foundation of your gym goes beyond superficial materials. There are several key factors that shape long-term performance, safety and cost-effectiveness.
Evaluate your exercise style
Weightlifting and CrossFit require thick, shock-absorbing surfaces
Cardio or agility training benefits from soft grass or cushioned mats
Stretching areas and yoga areas need firm and comfortable fabric
Each activity creates stress in different areas, which should guide material selection.
Consider local climate conditions
Areas where there is a lot of rain need pavers with high drainage capacity
Sunny climates require UV-resistant materials to prevent fading
Cold areas may require resilient flooring that can withstand freeze and thaw cycles
Outdoor flooring must withstand temperature fluctuations and natural elements without collapsing or losing its grip.
Measure your exercise area accurately
Precise dimensions avoid wasted material and ensure a snug fit
Use chalk lines or spray paint to precisely mark the area
Draw a layout plan to anticipate seams, edges, and transitions
Proper measuring helps with budgeting and reduces long-term issues with surface movement or misalignment.
Check loading requirements for equipment
Rubber tiles must be dense enough to hold weights, racks, or machinery
Avoid using soft mats in areas with frequent drops or machine vibrations
For multi-use areas, consider mixed flooring areas of different thicknesses
Each piece of equipment applies force differently. Surface strength must match the weight of the equipment and frequency of use.
conclusion
Outdoor gym floor
Choosing the right outdoor gym flooring ensures safety, durability, and better workouts. Whether you choose rubber tiles, artificial turf, or interlocking mats, proper installation and maintenance will keep your gym looking its best. For quality options, explore our premium outdoor gym flooring Designed For heavy duty use. Invest in the best flooring today and enjoy a long-lasting outdoor fitness space!